Properties & Preferences
How to collect additional data about your subscribers and allow them to manage it too.
Often, you'll want to collect extra data about your email subscribers so that you can personalize the emails they receive. For example, you might want to collect...
- The subscriber's name
- The subscribers's gender
- What country or state the subscriber lives in
- What types of products the subscriber is interested in
- How often the subscriber wants to receive emails
Collecting this data can help you create more personalized emails that are more likely to be opened and clicked on. For example, if you know what types of products the user is interested in, you can make sure that they only receive emails about those products.
Custom Properties
To collect this extra data about your subscribers, you first have to decide what data points you want to collect. These data points are called custom properties, and you can manage them on the Email Settings page.
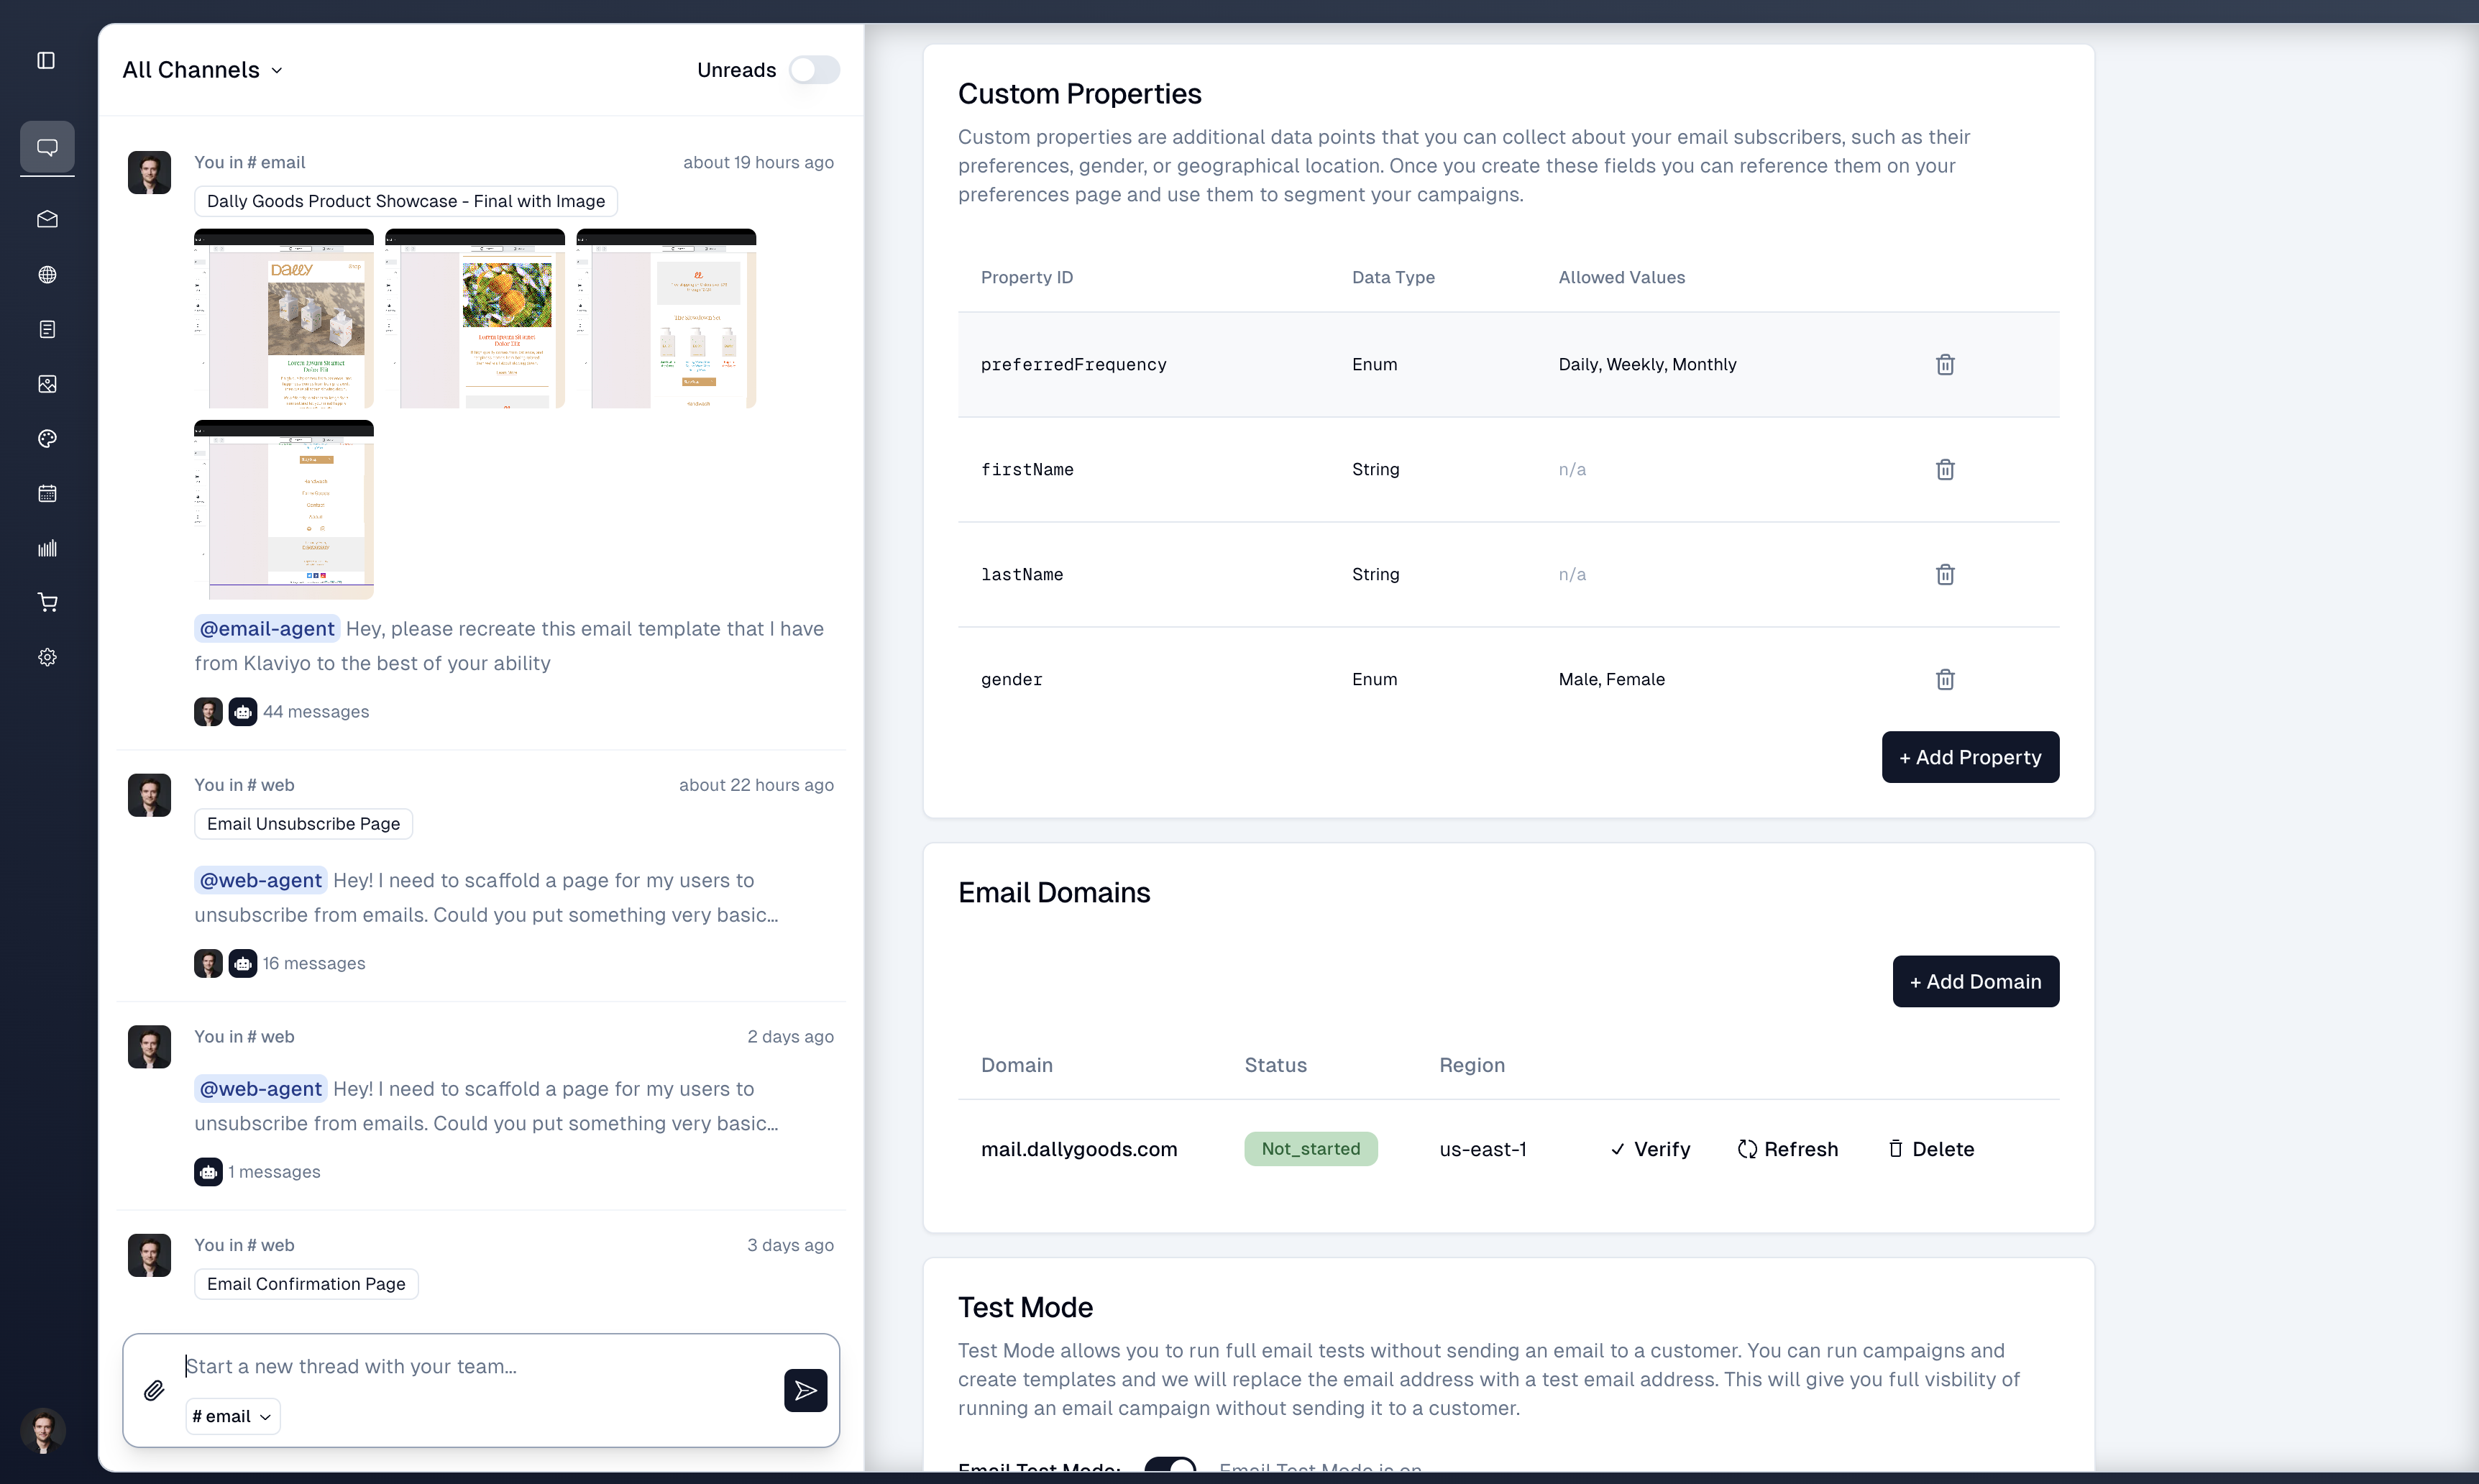
A custom property could be anything data point you want to know about your subscribers, such as their name, gender, country, or their preferences about what types of emails they want to receive.
To add a new property, simple give it an ID and a data type.
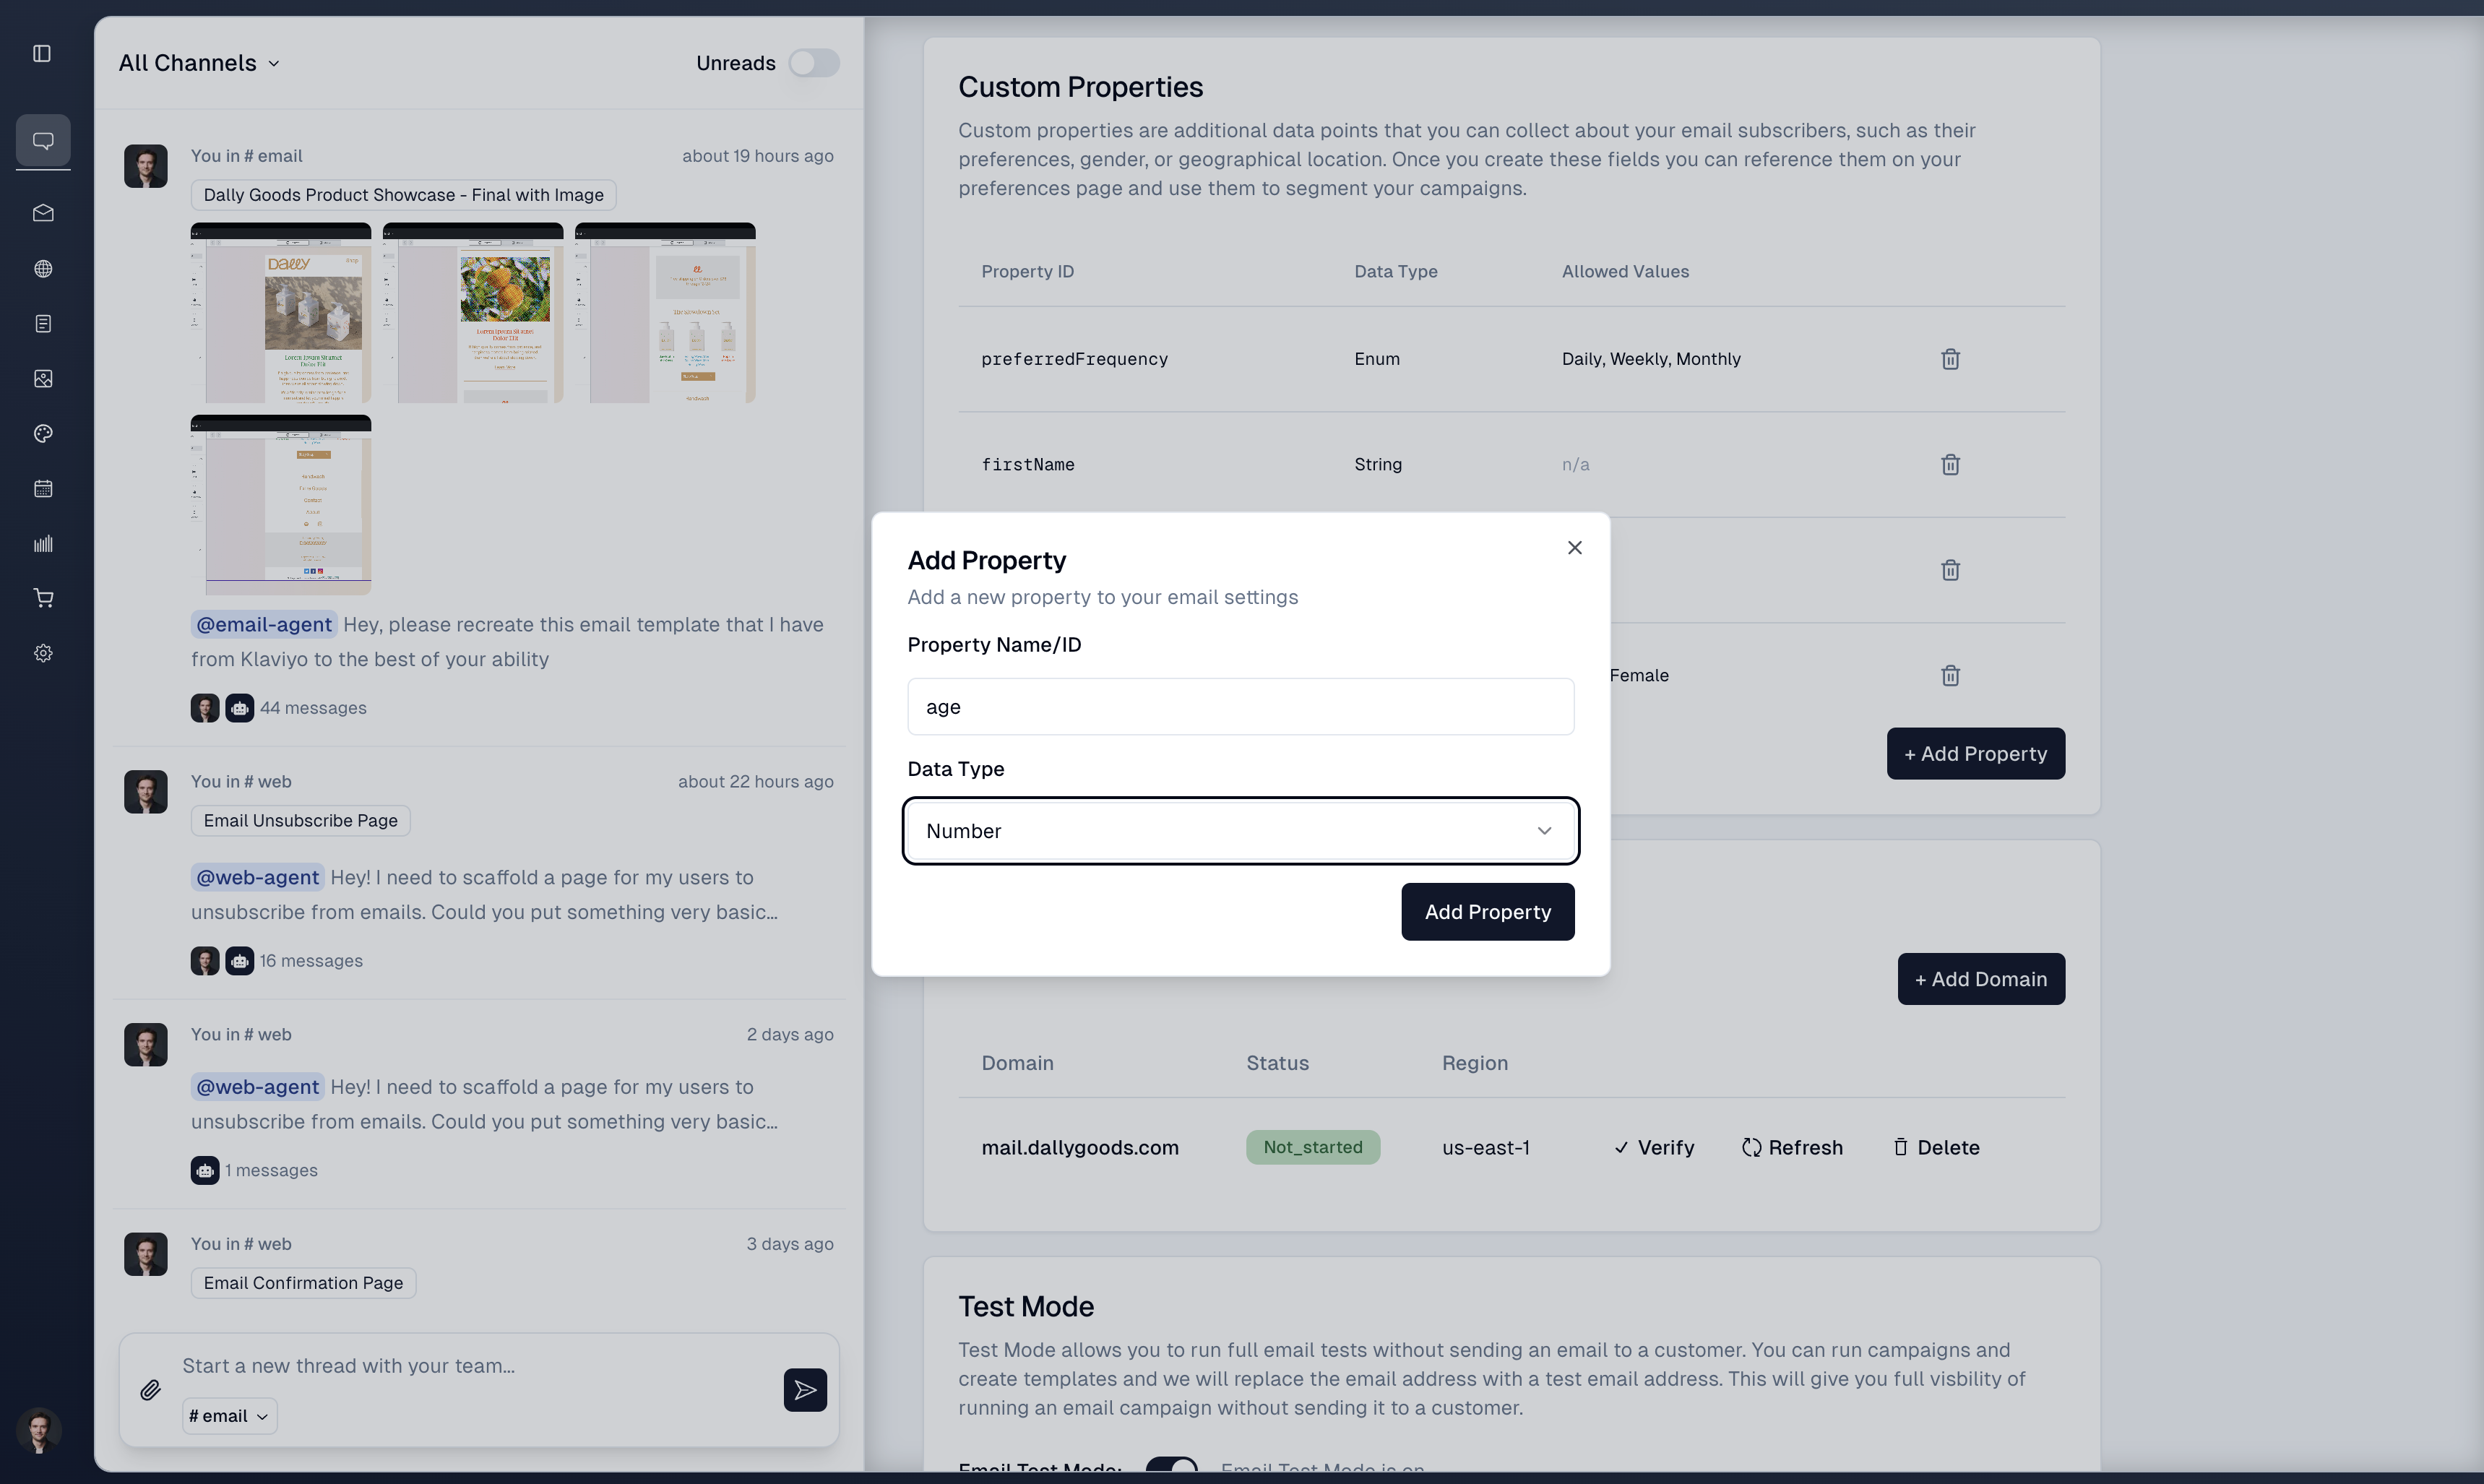
After you've created custom properties, the Email Agent can help you use them to segment your email campaigns. For example, you might want to send a user only emails about new arrivals in their preferred gender.
Adding Properties to the Subscription Popup
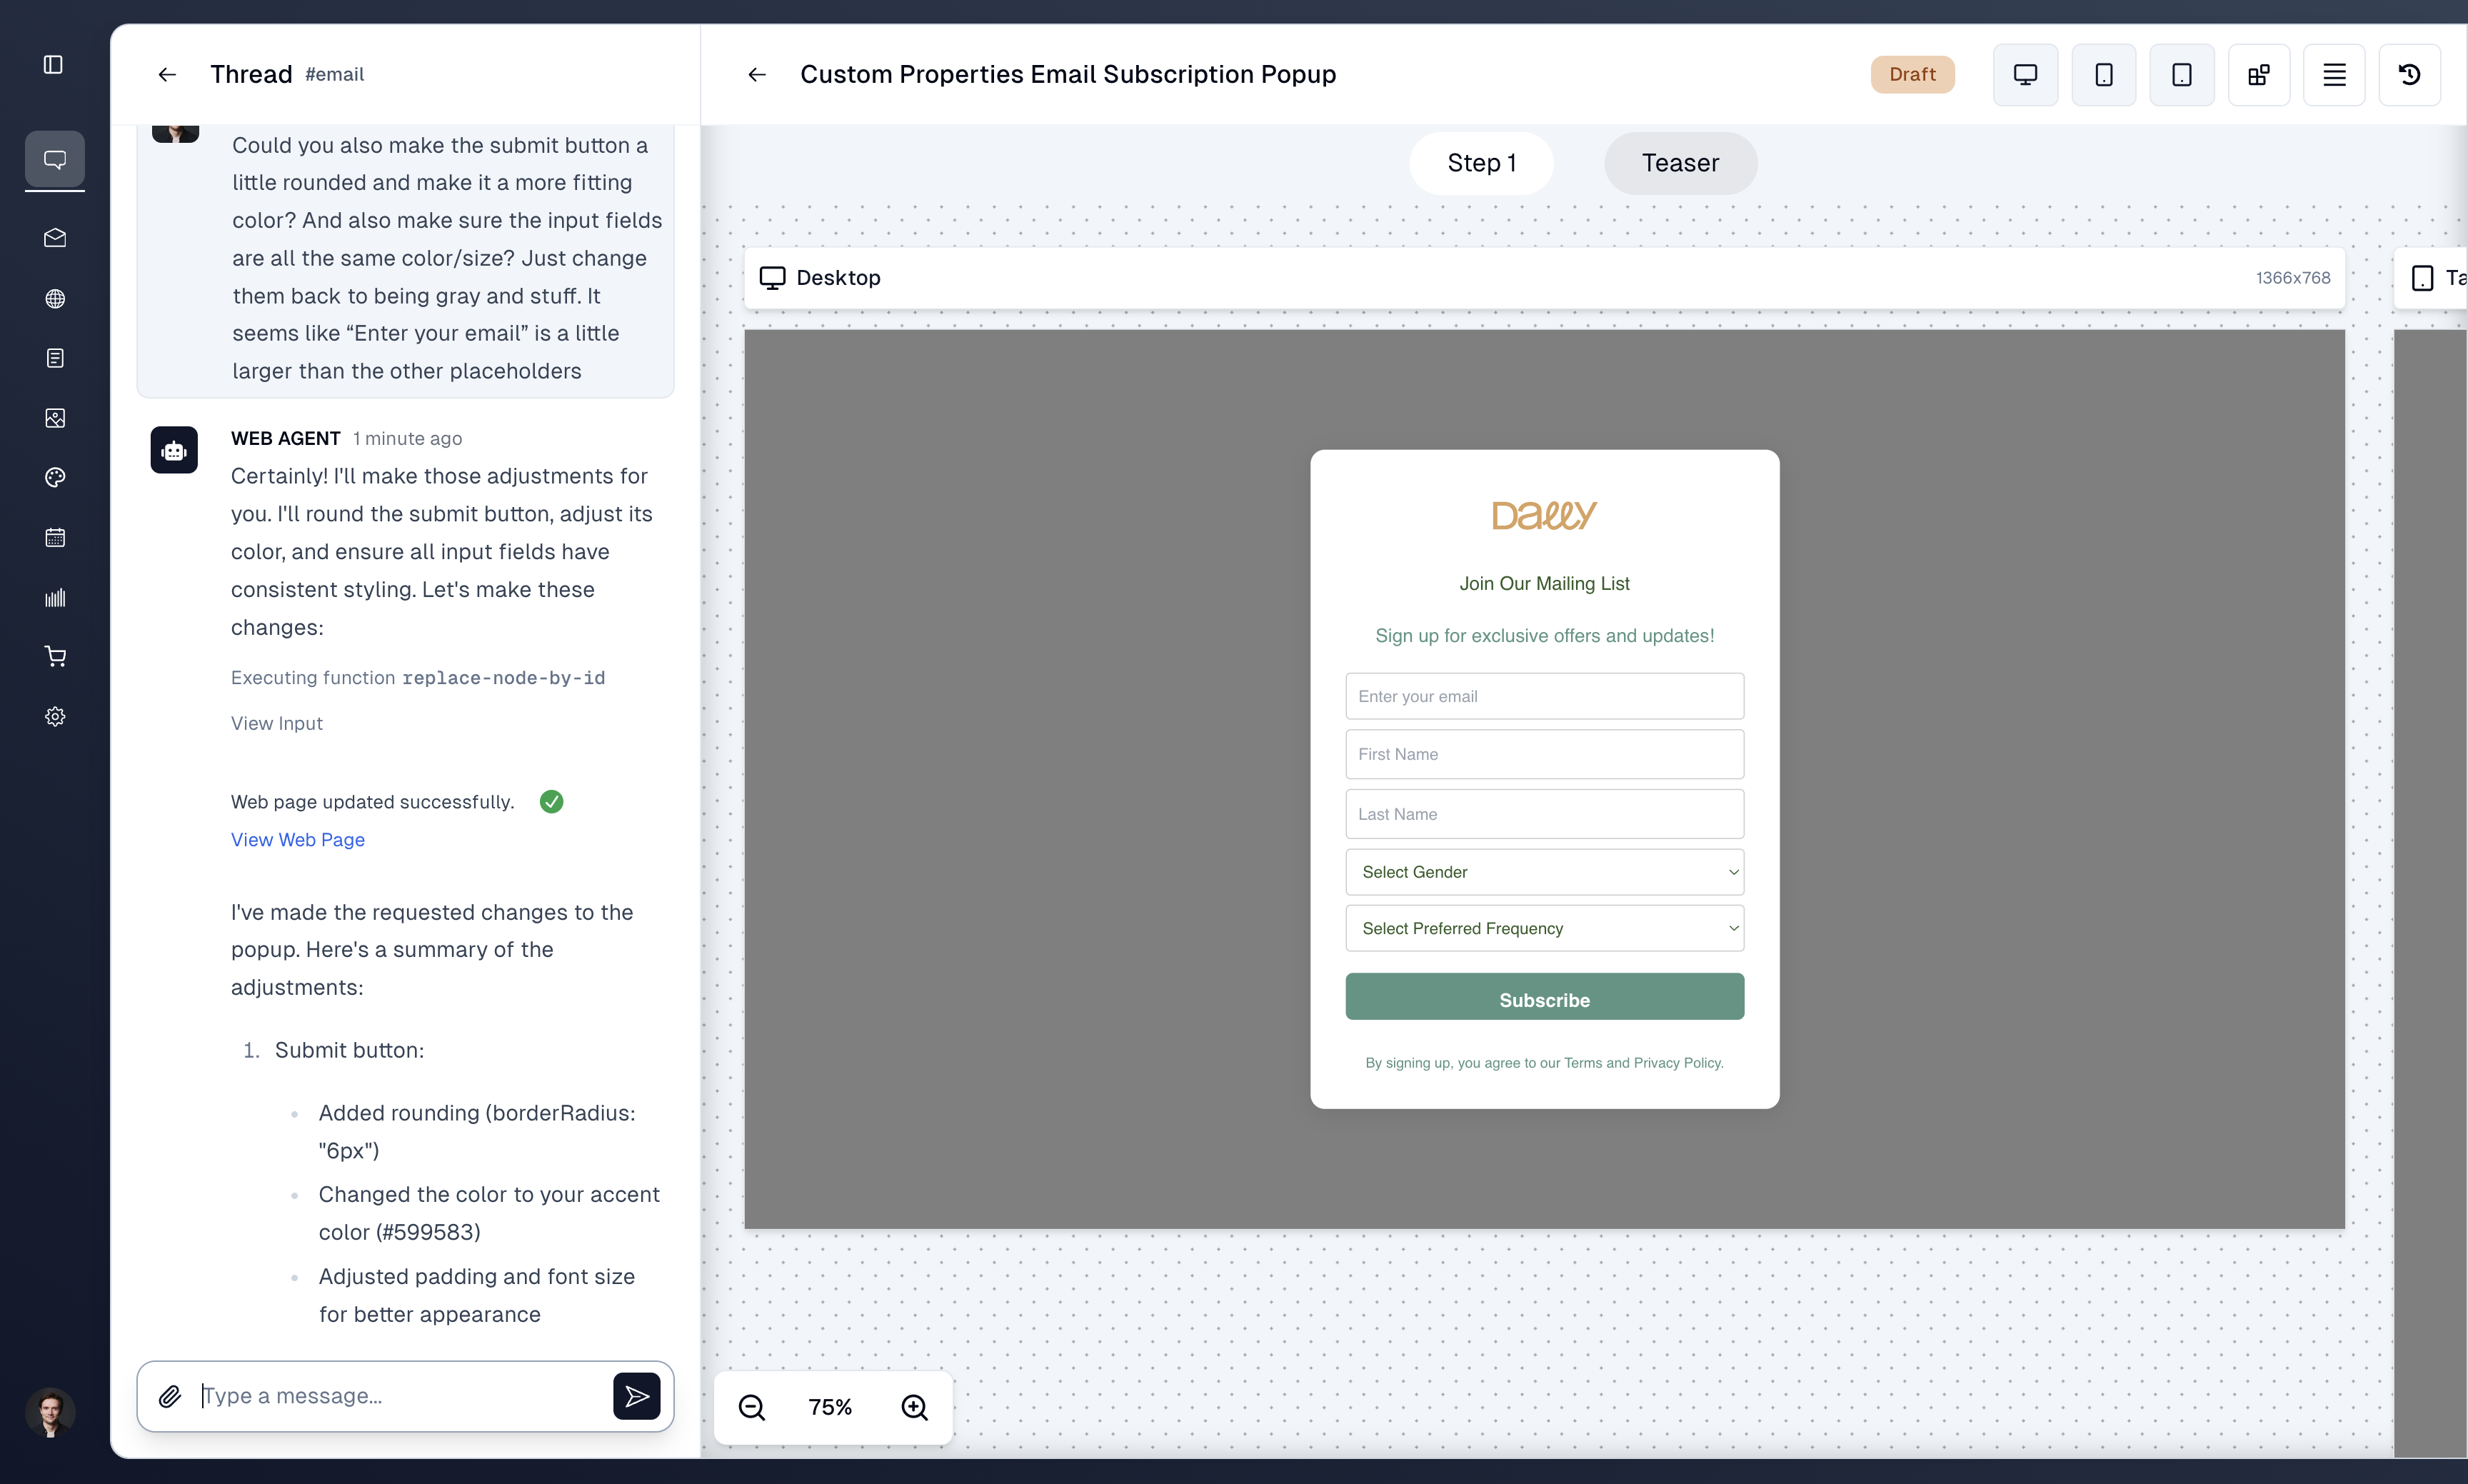
When users are subscribing to your email list via a popup form, you can allow them to set whatever properties you've created. To add these fields to your form, you can work with the Web Agent, who will help you construct a popup form with the right fields and design.
Creating a Preferences Page
It's also a best practice to allow users to edit their preferences/properties after they've subscribed. For example, maybe they decide that they want don't want to receive emails about certain types of products anymore.
To allow users to edit their preferences you can create a preferences page where the user can update their preferences and other properties about them.
To create this page you can work with the Web Agent, who will know how to create such a page by using special form components.
You get to decide how this page looks. You can decide what properties you want the user to be able to edit (they don't all have to be editable) and how you want the form to look.
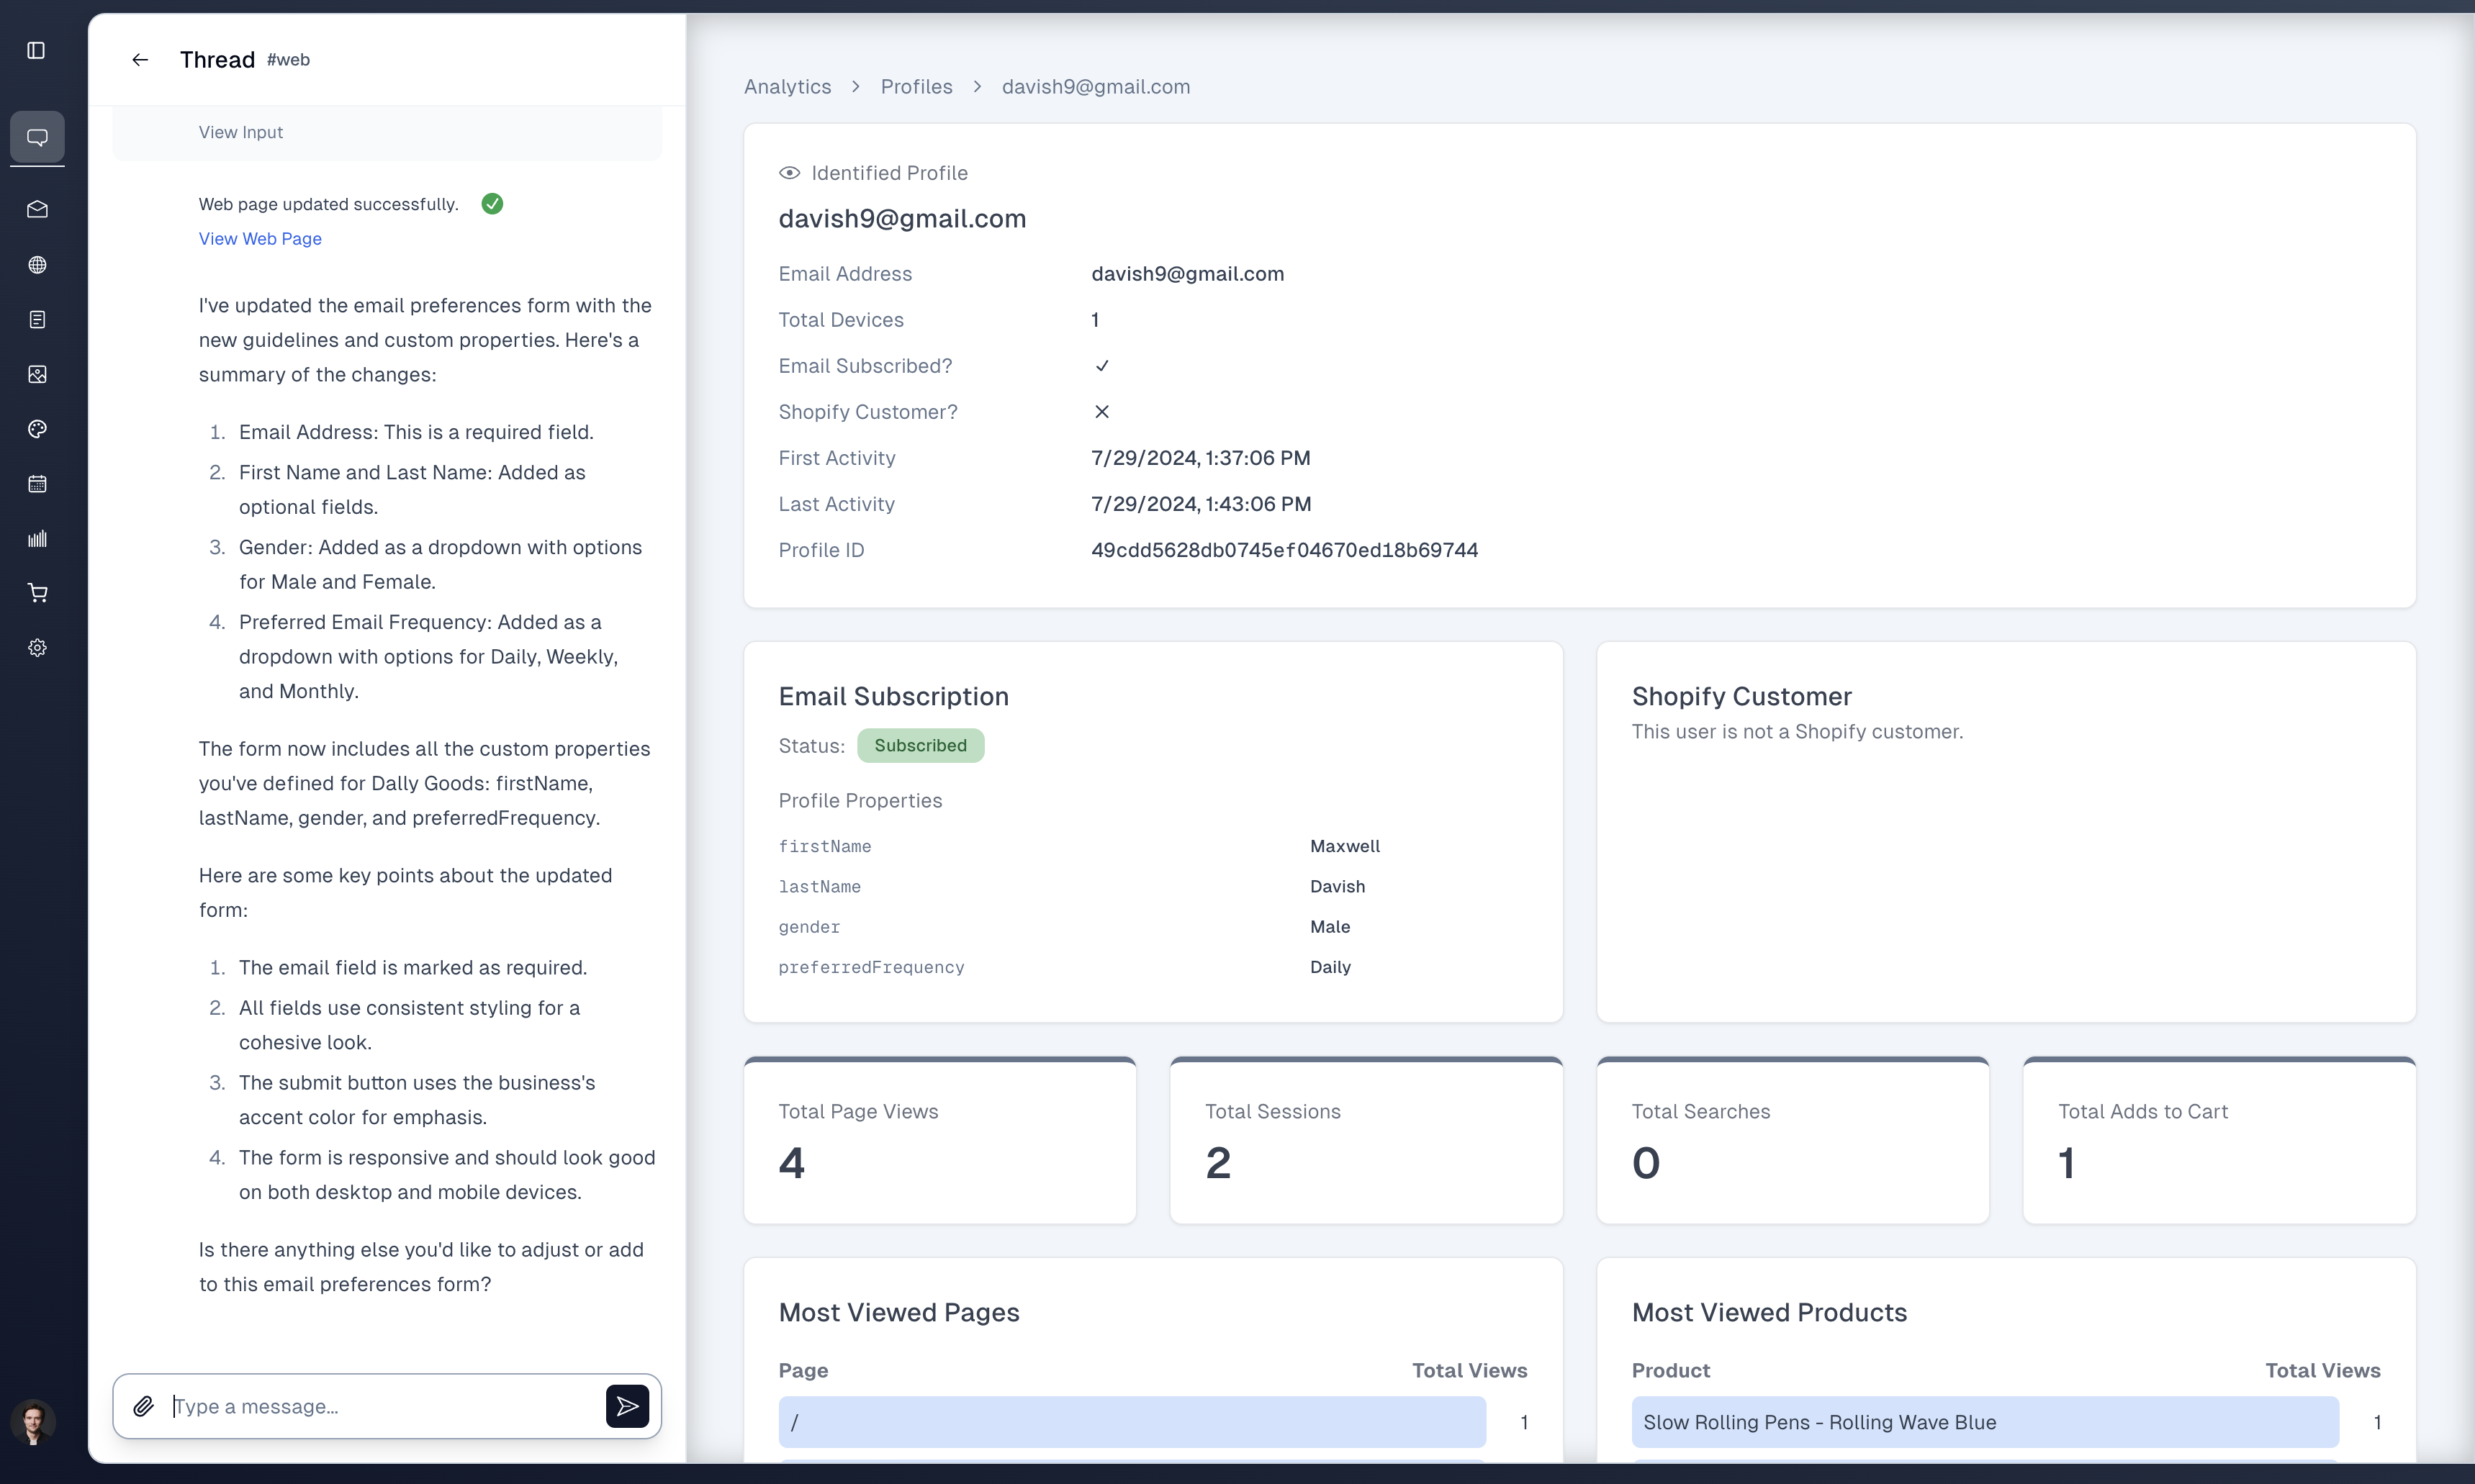
The end result might look something like this:
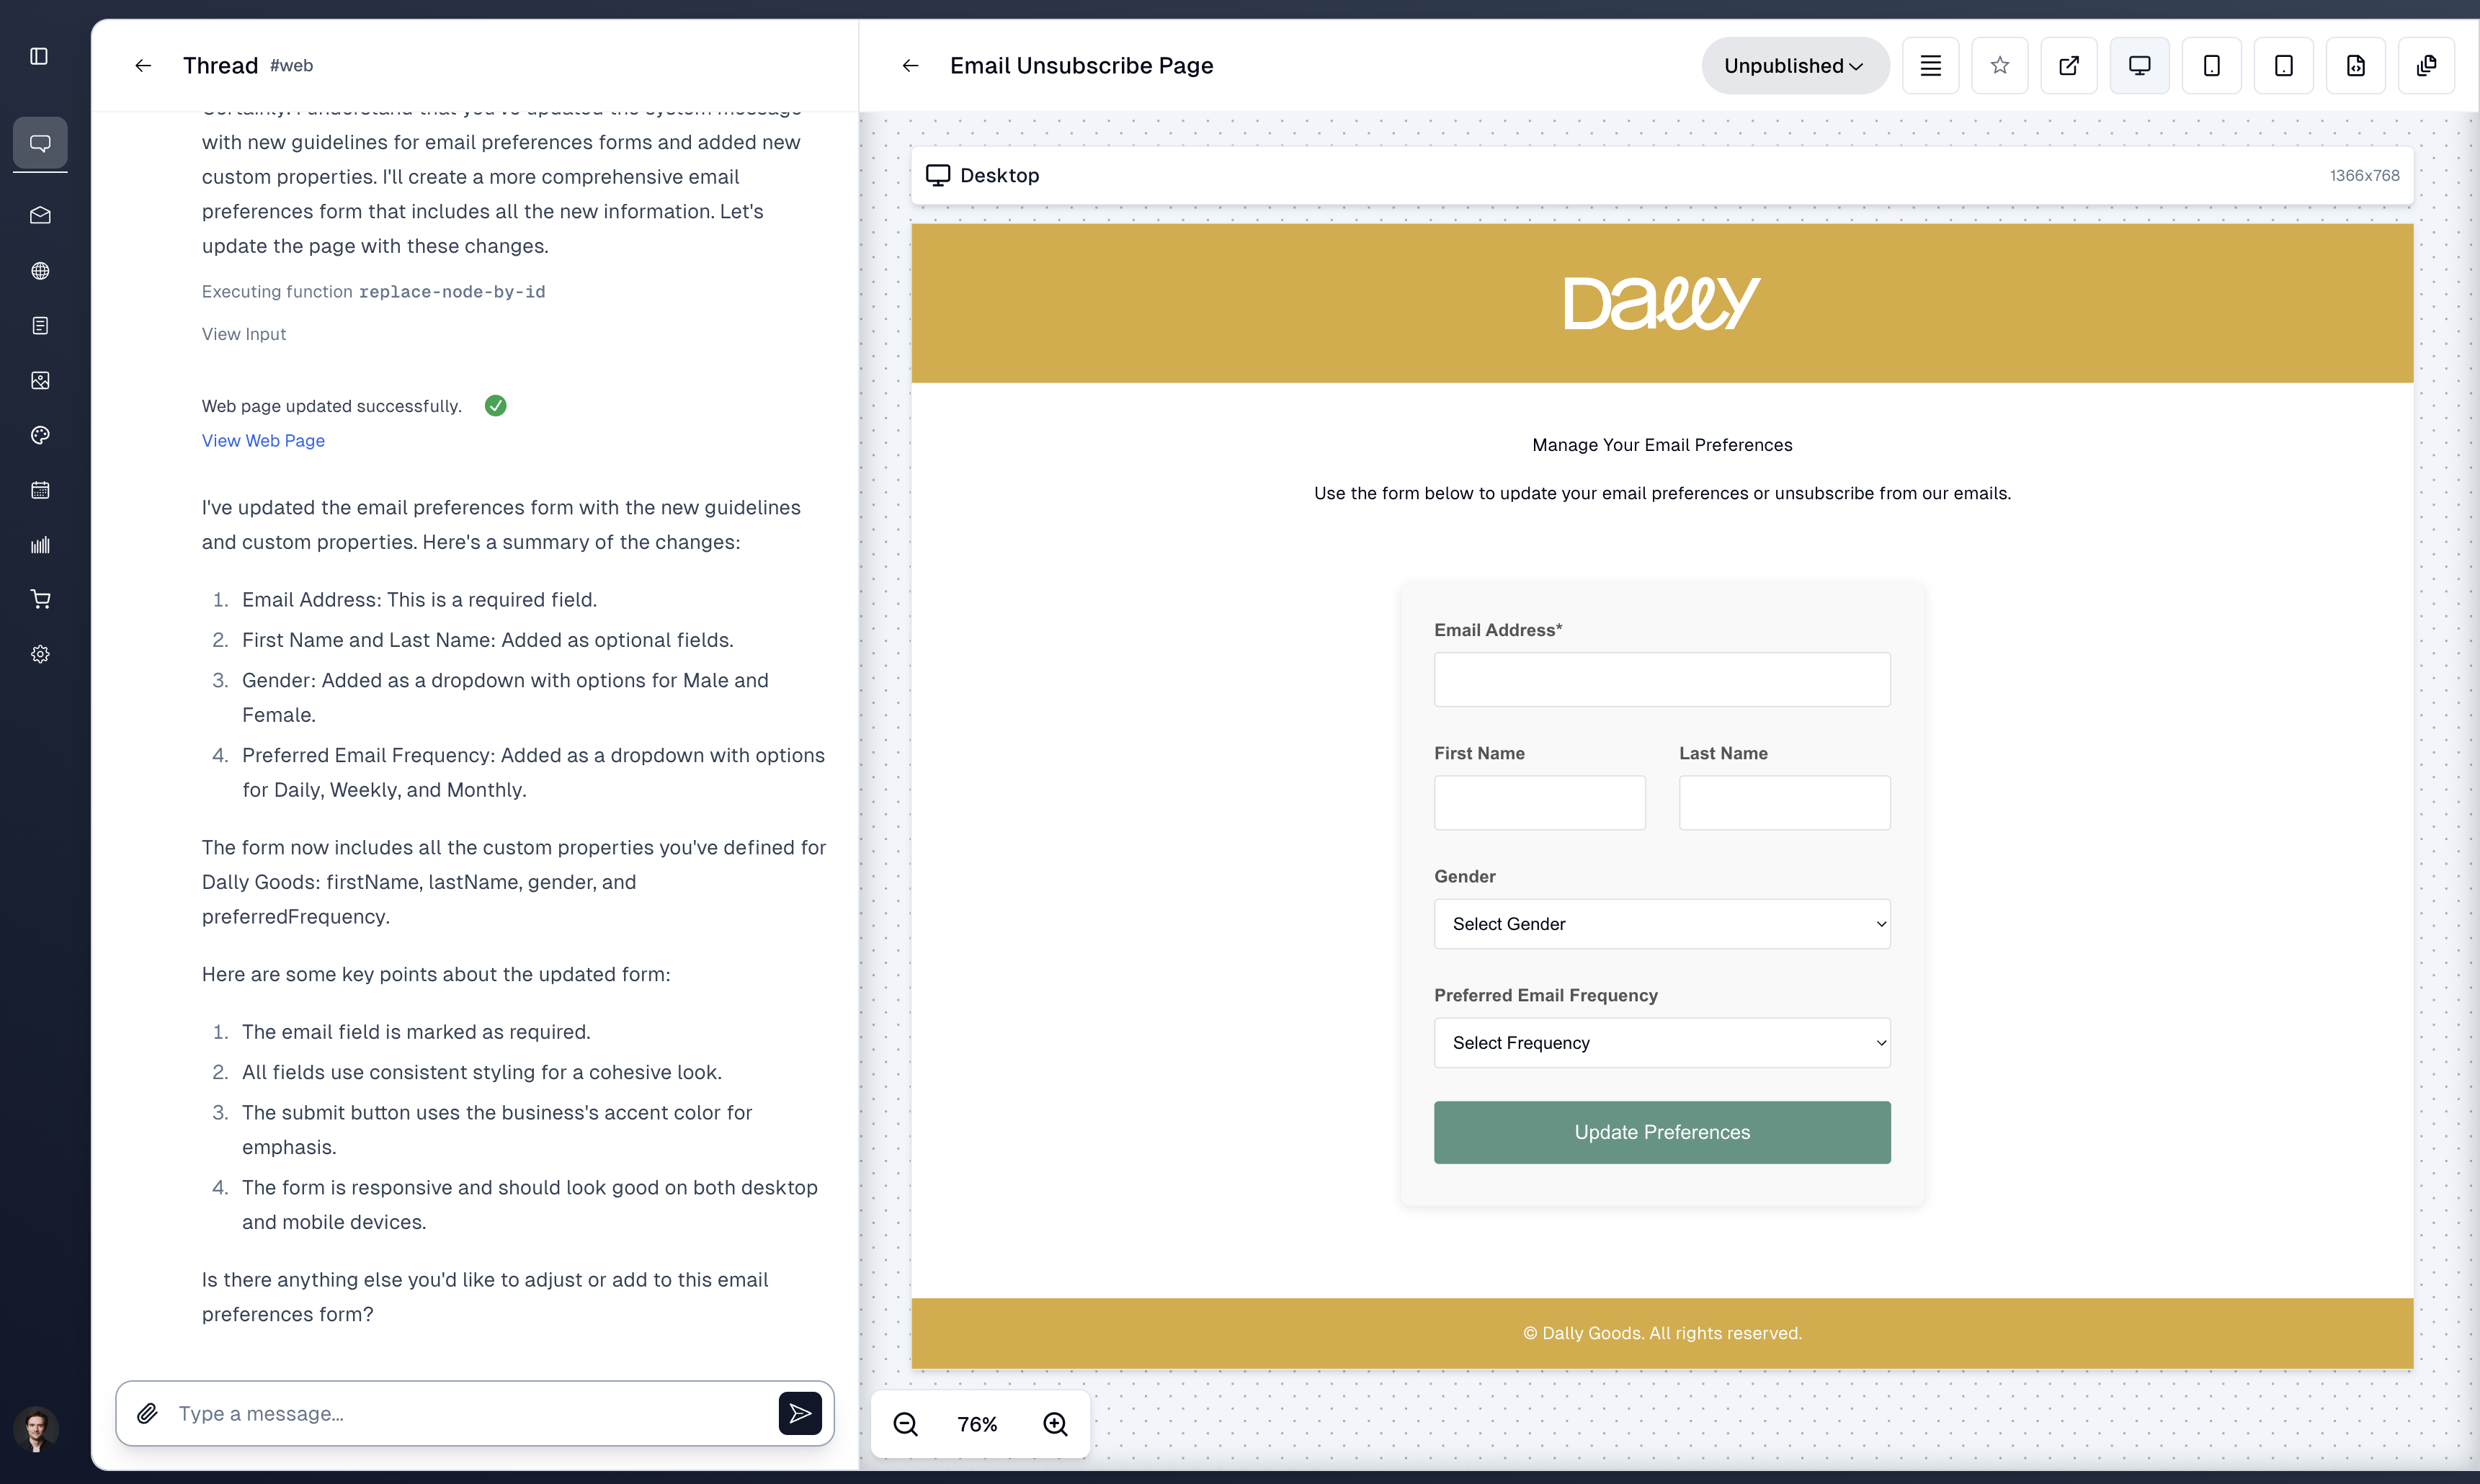
Once you've crated this page, you can set it as your preferences page on your Email Settings page. This will host the page at a special URL.
Once you've hosted the page, you can work with the Email Agent to add an "Update my preferences" link to your email templates. When users click this link, they will be redirected to the preferences page, where they can edit their preferences and other properties.
Adding Properties from the Editor
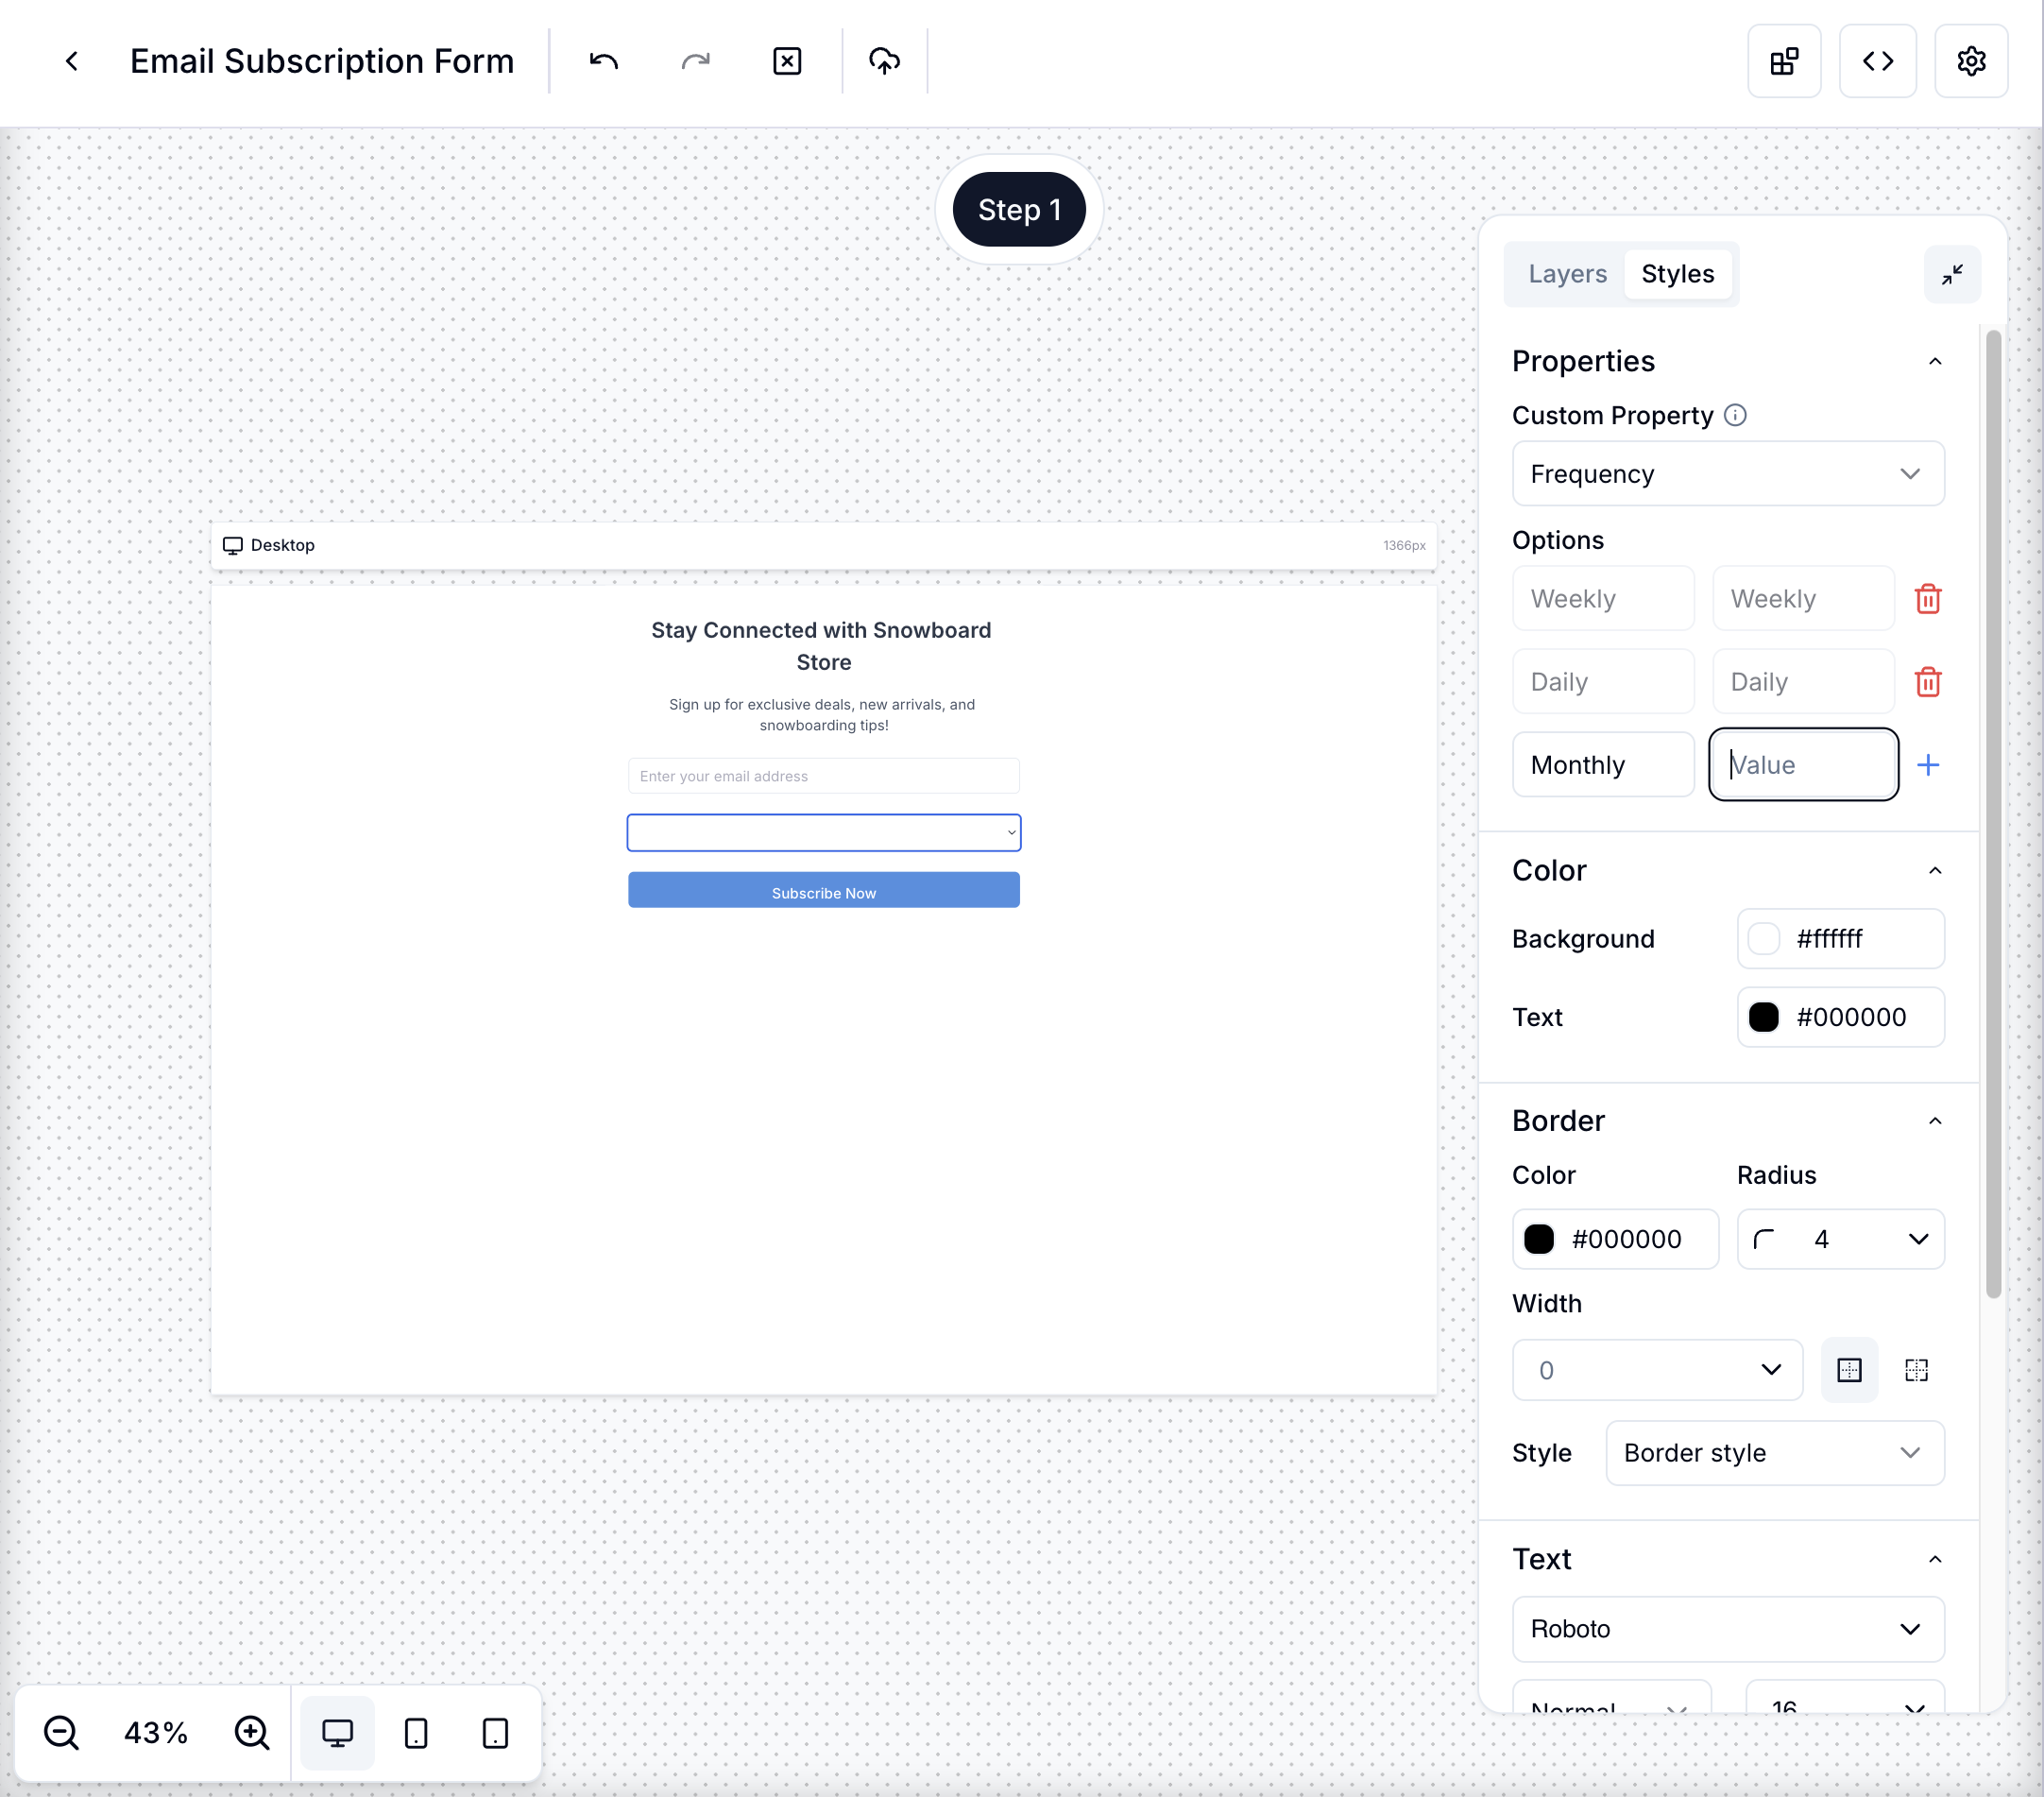
In most cases, the Web Agent will handle adding properties to your preferences and subscriptions forms; however, if you want to manually add properties to the forms, you are able to:
Steps to Manually add Properties
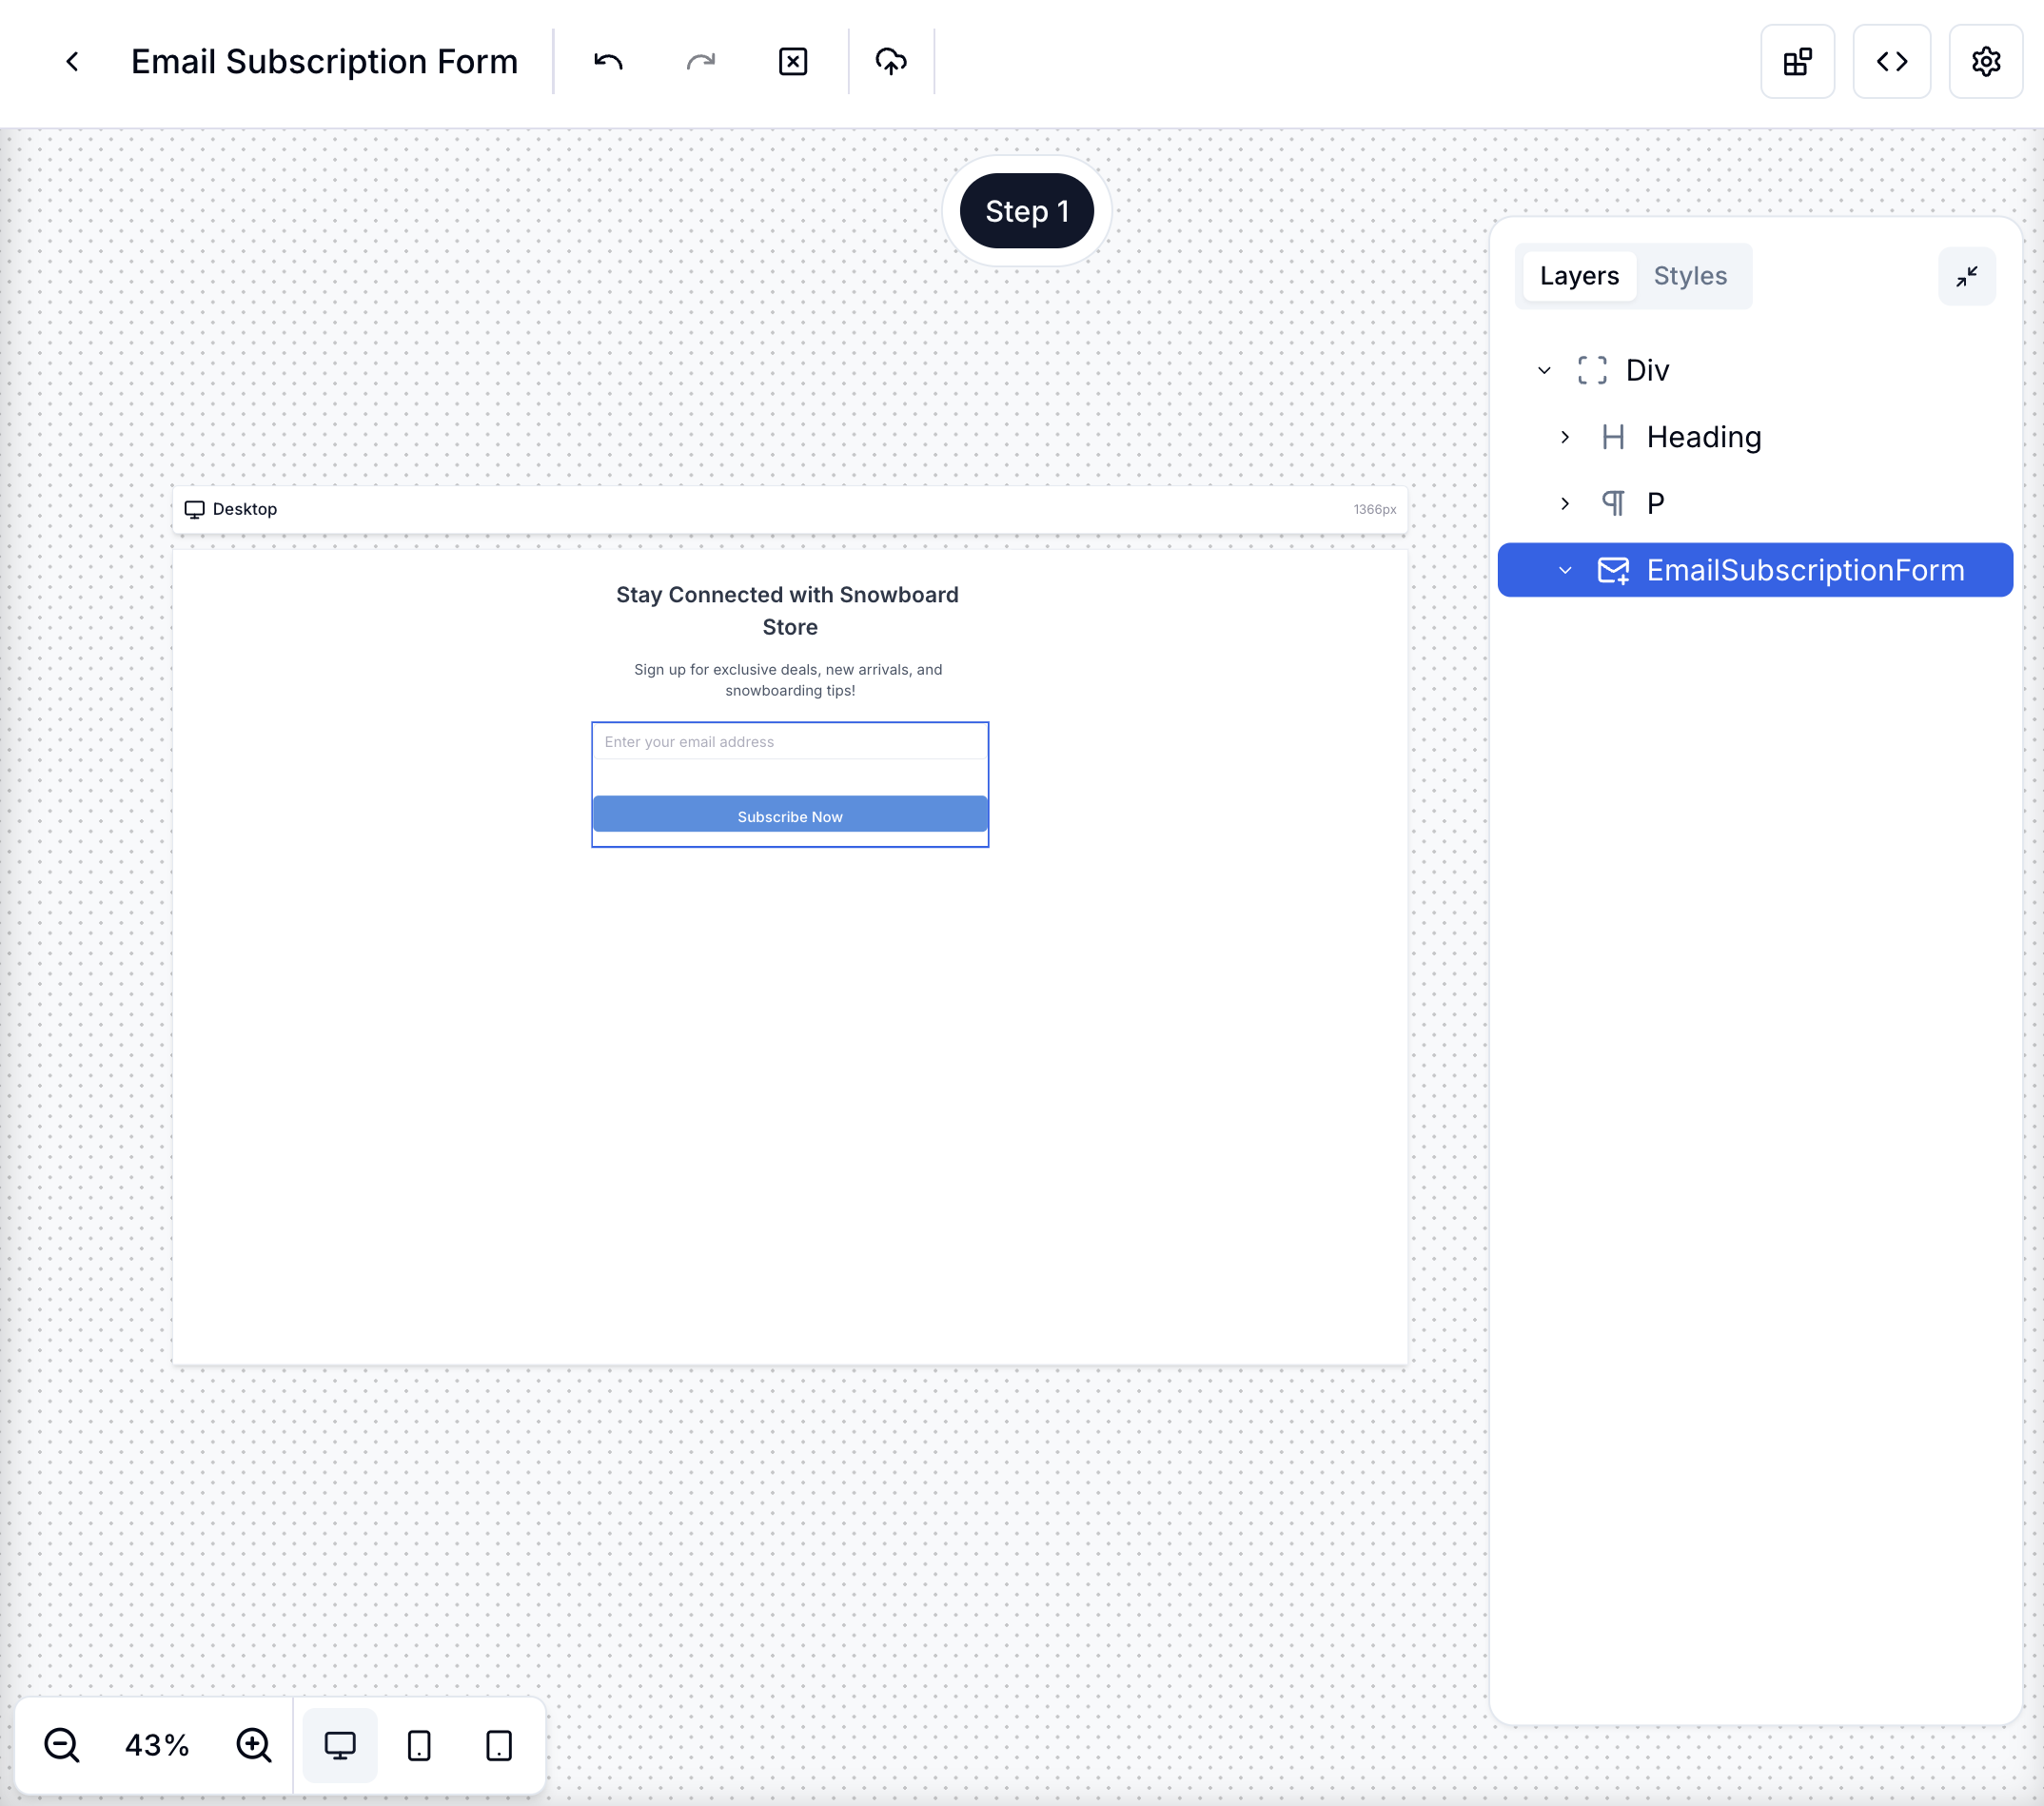
- Open the form in the editor and select either the
EmailSubscriptionFormorEmailPreferencesFormcomponent
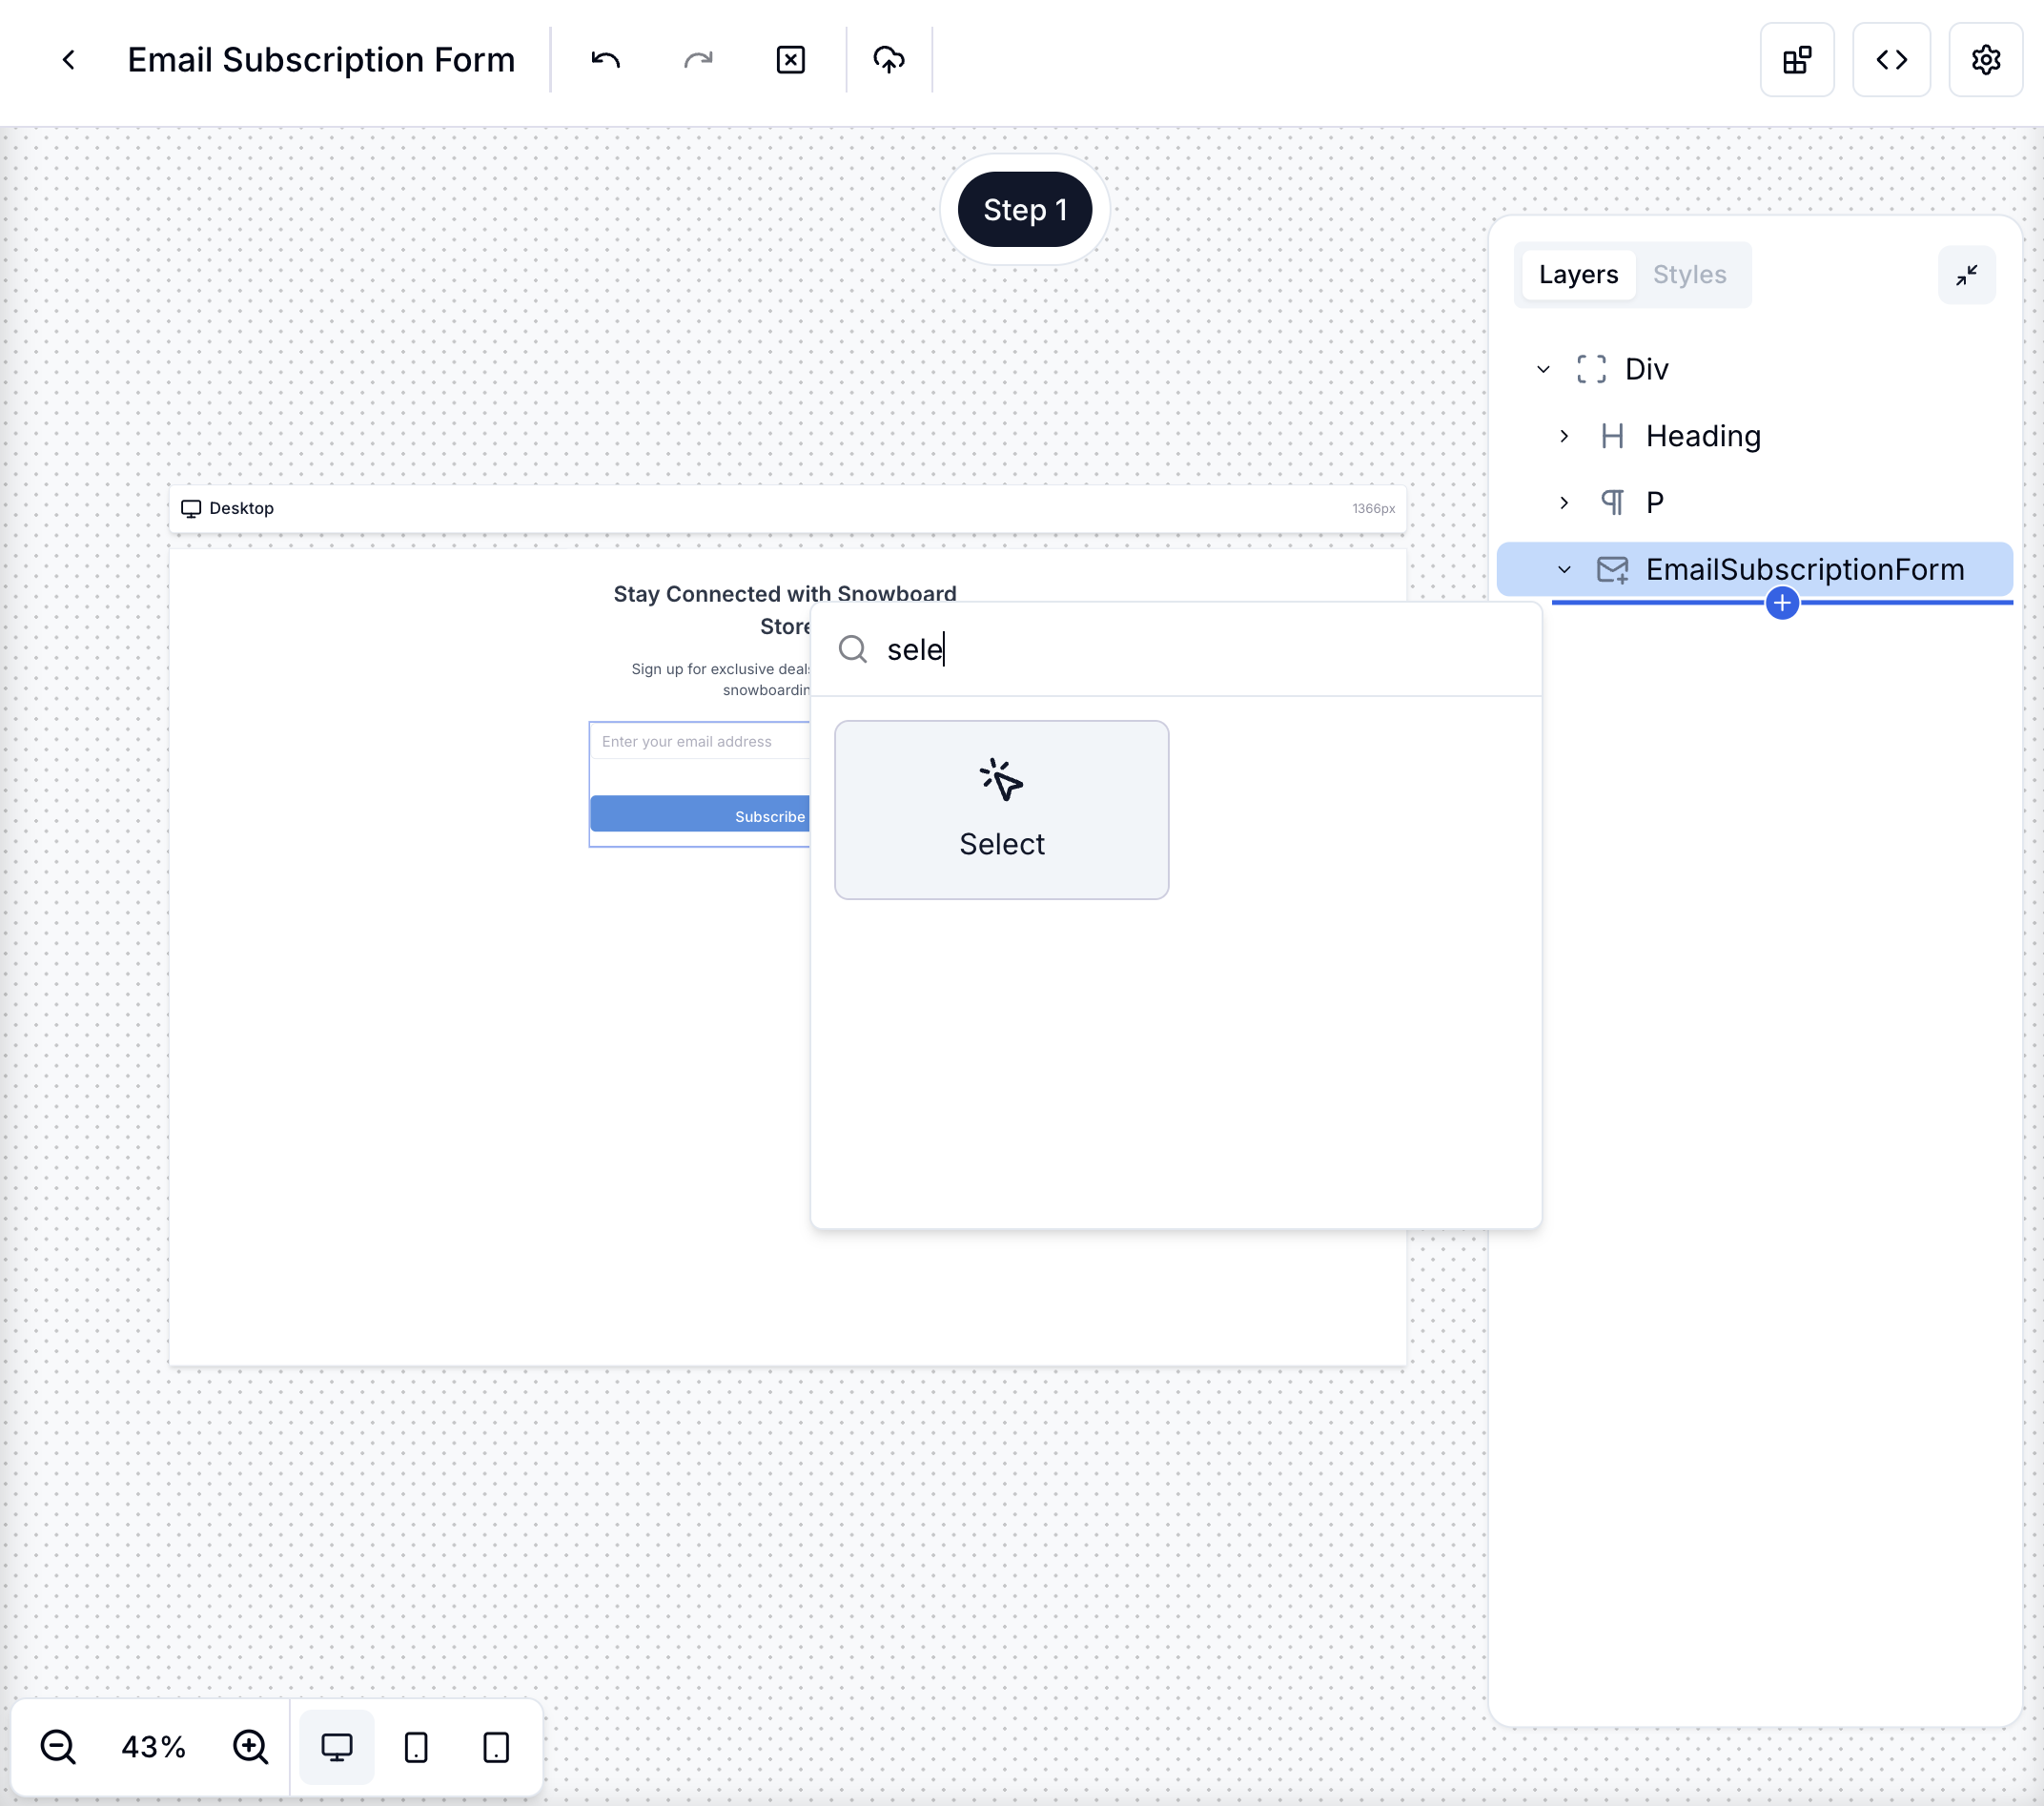
- Add an
InputorSelectcomponent inside the form component
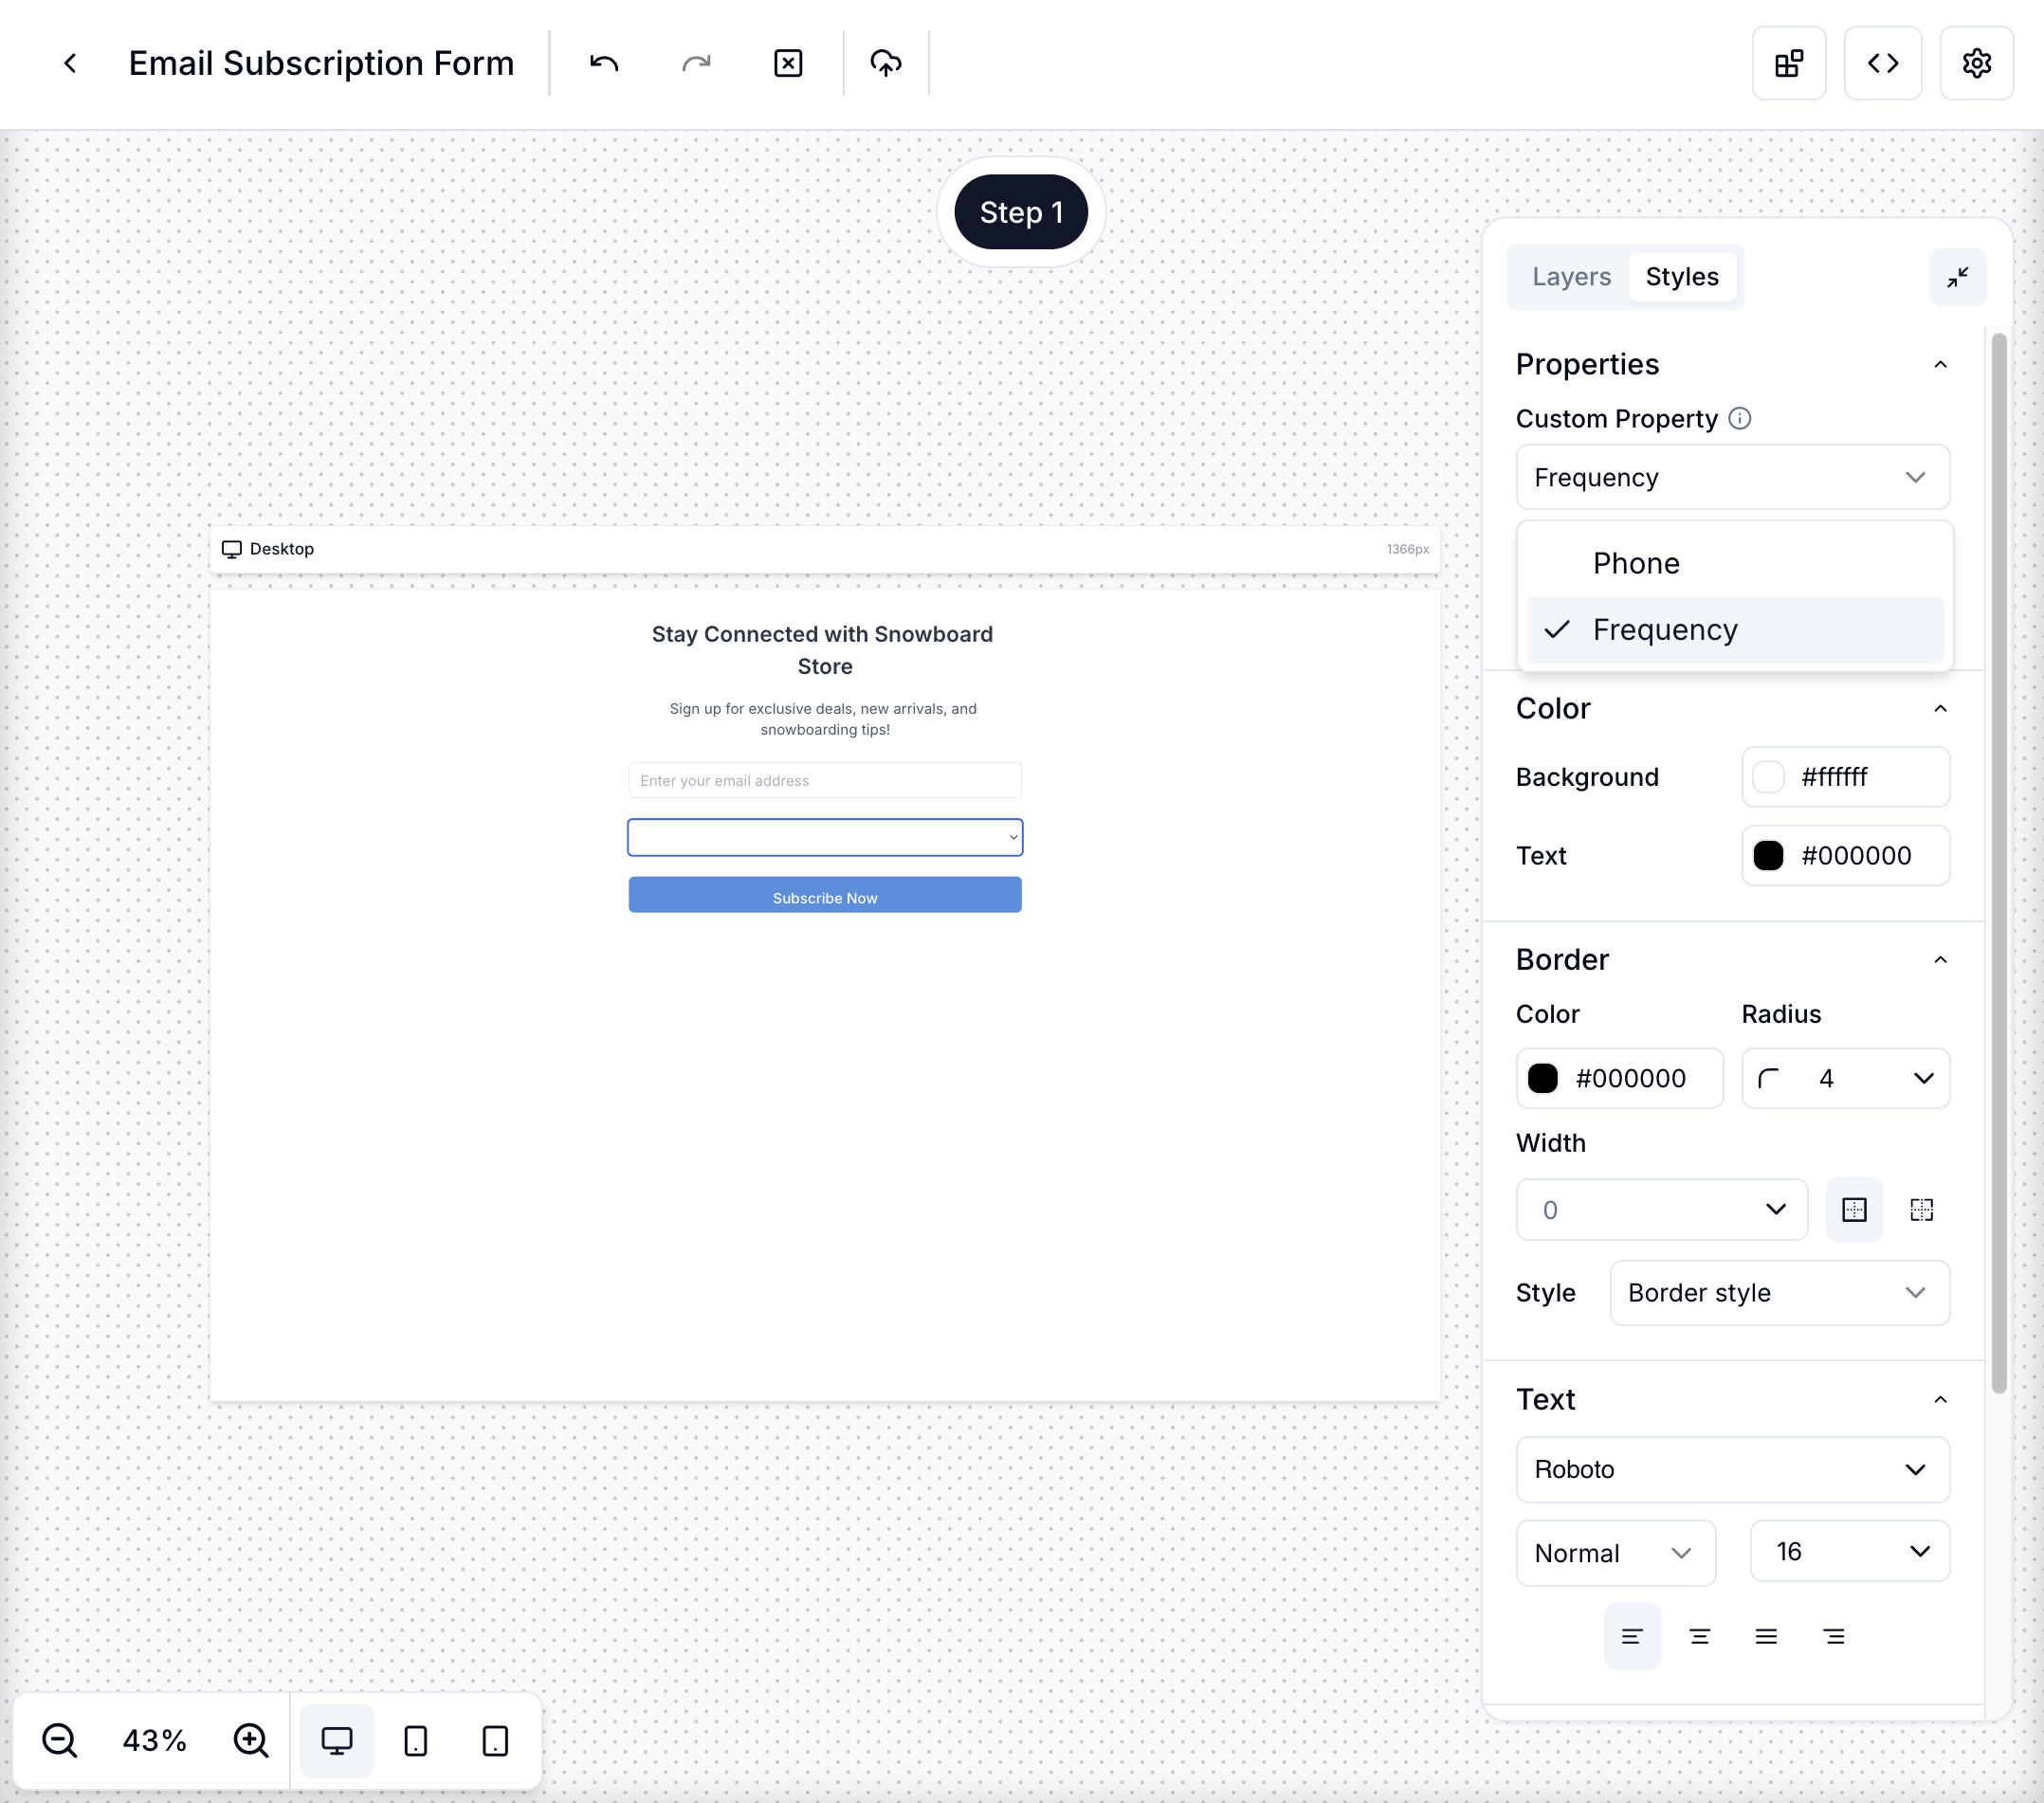
- Choose the name of a property for your component
-
For select components with options:
- Make sure the options match exactly what you defined in your custom property
- The value of each option must match the allowed values in your custom property
-
For input components:
- These should only be used with text or number custom properties
Viewing Subscriber Properties
Once you've set up your custom properties, you can view the properties for a given subscriber on the profile page:
